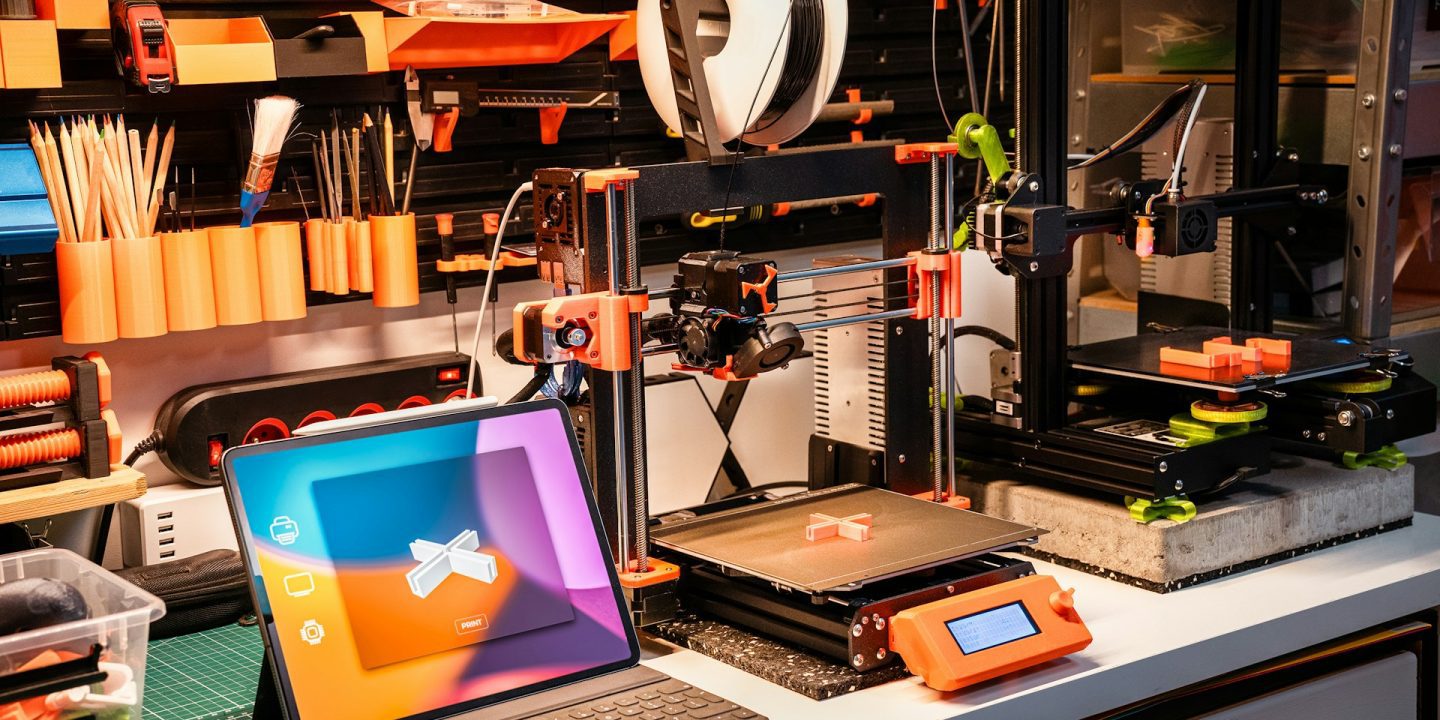
3D printing is an incredible technology that allows you to bring ideas to life, from custom parts to innovative prototypes. However, it can also be frustrating when prints fail unexpectedly, leading to wasted time, filament, and effort. The good news is that most common failures stem from a handful of key issues. By understanding these challenges and implementing the right solutions, you can significantly improve the quality and consistency of your prints. Let’s dive into five major reasons why 3D prints fail and how you can prevent these problems.
1. Poor Bed Adhesion – The Foundation of Every Successful Print
If the first layer of your print doesn’t adhere properly to the print bed, your entire model is at risk of warping, shifting, or detaching mid-print. Ensuring a strong bond between the filament and the bed is crucial for a stable foundation.
How to Fix It:
- Keep the Build Surface Clean: Dust, oils, and leftover residue can reduce adhesion. Clean the bed regularly with isopropyl alcohol or mild soap and water.
- Adjust Bed Temperature and Use Adhesives: Different filaments require different bed temperatures. Materials like PLA work well at around 60°C, while ABS may need up to 100°C. Applying glue sticks, hairspray, or specialty adhesives can also help with grip.
- Properly Level the Bed: If the nozzle is too high, the filament won’t stick properly. If it’s too low, it could cause clogging or smearing. Use a piece of paper to check the nozzle gap and make micro-adjustments.
A well-prepared print bed ensures that your model stays in place and builds up layer by layer without disruptions.
2. Incorrect Slicer Settings – The Blueprint for Success
Your slicer software translates 3D models into machine instructions, but if the settings are incorrect, your print quality will suffer. Issues such as weak layers, excessive stringing, or poor bridging often stem from improper slicer configurations.
How to Fix It:
- Optimize Layer Heights and Print Speeds: Lower layer heights (e.g., 0.1mm) create smoother prints but take longer, while thicker layers (e.g., 0.3mm) print faster but with more visible lines. Finding a balance is key.
- Fine-Tune Retraction Settings: Too much retraction can lead to under-extrusion, while too little can cause stringing. Test different values to minimize filament oozing.
- Adjust Infill Density and Patterns: A higher infill percentage increases strength but also print time. Choose an appropriate infill pattern like grid or honeycomb based on your model’s needs.
Making these small but impactful slicer adjustments can significantly enhance your print’s appearance and durability.
3. Extruder Issues – Ensuring Smooth Filament Flow
A faulty extruder can lead to inconsistent filament flow, resulting in under-extrusion, layer gaps, or outright print failure. Common culprits include nozzle clogs, feeder tension problems, or tangled filament.
How to Fix It:
- Clean or Replace the Nozzle: Clogged nozzles restrict material flow. Regularly clean them with a fine needle or use a specialized cleaning filament. If the nozzle is worn out, replacing it can restore print quality.
- Check Feeder Tension: If the feeder grip is too tight, it might grind the filament. If it’s too loose, the filament might not feed consistently. Adjust tension for a smooth feed.
- Prevent Filament Tangles: Store filament properly to avoid knots or misfeeding. Using a filament guide or spool holder helps maintain a steady filament path.
By maintaining your extruder, you ensure a consistent, uninterrupted material flow for reliable prints.
4. Mechanical Issues – The Hidden Cause of Print Inconsistencies
Your 3D printer’s mechanical components play a crucial role in accuracy and stability. Loose belts, misaligned pulleys, or worn-out bearings can introduce wobbles, shifting layers, or uneven prints.
How to Fix It:
- Tighten and Align Belts & Pulleys: Loose belts cause inaccuracies. Regularly check and tighten them to maintain precision.
- Reduce Vibrations and Layer Shifts: If your printer produces noticeable horizontal lines, updating stepper motor drivers or placing the printer on a stable surface can help.
- Lubricate Moving Parts: Dry rods and bearings create friction, leading to skipped steps. Periodic lubrication extends component life and ensures smooth operation.
Taking care of your printer’s hardware ensures long-term accuracy and print quality.
5. Environmental Factors – The Often Overlooked Influence
External conditions, such as temperature, humidity, and airflow, greatly affect print success. Sudden drafts or moisture in the filament can lead to warping, poor layer adhesion, or inconsistent extrusion.
How to Fix It:
- Use an Enclosure: This helps maintain a consistent printing temperature, which is especially useful for materials like ABS that are prone to warping.
- Store Filament in a Dry Environment: Humidity can degrade filament, making it brittle or prone to poor extrusion. Use sealed storage bags with desiccants or dedicated dry boxes.
- Monitor Room Conditions: Place a thermometer or hygrometer near your printer to track environmental changes. Avoid placing the printer near open windows, fans, or air conditioning vents.
Maintaining a stable print environment leads to stronger, more reliable prints every time.
Final Thoughts – Mastering the Art of 3D Printing
3D printing success is all about fine-tuning and troubleshooting. Each failure is an opportunity to improve and refine your approach. By addressing issues like bed adhesion, slicer settings, extruder performance, mechanical stability, and environmental factors, you’ll significantly increase your success rate and print quality.
With patience, maintenance, and continuous learning, your prints will become more consistent, detailed, and durable. Happy printing!
Photo by Jakub Żerdzicki on Unsplash


